4. Farmhouse Deck Table Idea. Glue 2 of the 2x6x8 boards together, then use a clamp to hold everything in place, then drill 4 holes on one board and 4 on the other board for the screw. The top of the table and bench are both stained a dark color which contrasts nicely with the white legs and apron.

This is purely for style and is not necessary.
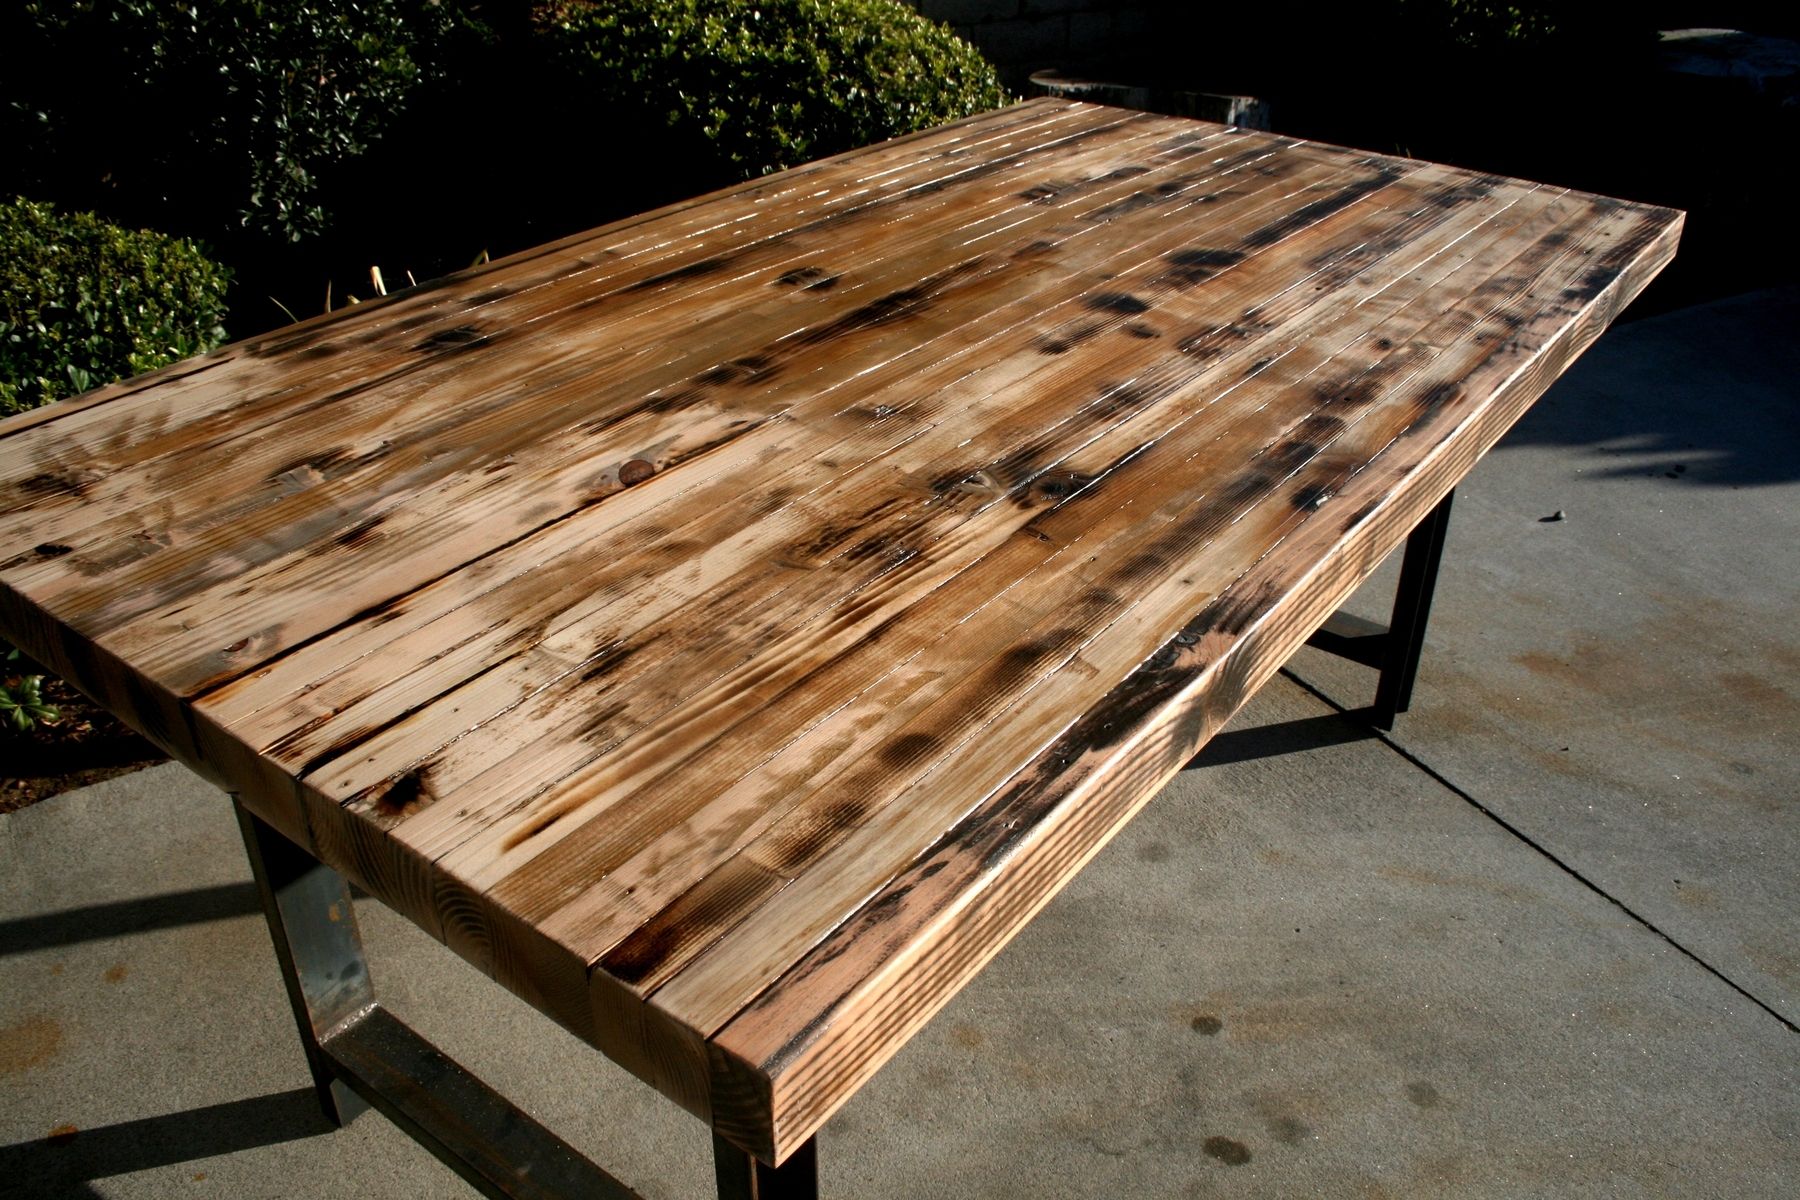
After making your cuts, use between 100 and 220 grit sandpaper to give all parts a thorough sanding. Attach the legs to the bottom cross piece as shown in the diagram with pocket hole screws.. We had a bunch of salvage fir boards lying around that were just perfect for this project. Now to make a circle, I took half of the diameter of the table size (so 22" for my 44" table), put a pin in the center of the table and tied a string to it that was the length of half the diameter (22" in this case). The next step is to add the breadboard ends, which are the boards at each end of the table. Before attaching the tabletop boards together, use a random orbital sander and sand the boards to eliminate any rough edges. But with this instruction, you can build this beautiful table easily. Cut the 2x6x10 wood pieces into the appropriate lengths per the You need 2x6s, 4x4s, and 2x4s pine wood boards to construct this sturdy round dining table that will cost you big if you buy it from the market or stores. Attach the base to the top using 4.5 torq screws through the 44 beams. Its a very practical addition which doesnt really change the design that much. Take a look at our steps below to learn how to make a farmhouse coffee table. First, cut all boards according the Cut List, above, using a table saw. Lightly sand any rough edges with a sanding block where you made your cuts and wipe clean with a tack cloth. Next, you need to make a frame that will form the tabletop. In my design, I considered 3 different types of legs made from 30" long cedar 4x4s. The key to making a farmhouse table is attaching the wood and cutting it into a circle. Supplies Needed:12 2 x 6 x 6 white pine boards look for boards with fewer knots and that are straightCircular saw with wood cutting bladeScrap wood to make a simple wood cutting jig I used a piece of bead board and plywoodKreg R3 Pocket Hole Jig100 8 x 2-1/2 pocket hole screwsDrill and Kreg jig drill bit that comes with the jigMore items Well start with a great little project from instructables which teaches you how to build a farmhouse dining table and a bench using readily available lumber which you can get from your local home supply store. Cut all your pieces to size. Instead of attaching the side apron boards 3 3/4 in, we connected them right to the base edges, squaring up the corners, providing the folded down sides a stable surface. Step 2 Assemble Farmhouse Tabletop. If anything, this cottage end table is a winner. You will need to use screws to secure the boards before cutting the shape of your farmhouse table. In addition, its oak well-finished table top makes it beautiful. 6. Assemble the top and bottom/floor cross pieces as shown in the diagram with pocket hole screws. The table has a simple and elegant design with a slender-looking base but most importantly with extension arms on either side. We flipped the table top over in order to attach the circle jig so that our screw hole wouldnt be visible one the top was assembled to the base. See more ideas about round farmhouse table, dining room decor, round dining table. When a 46 leg is dry, use brad nails or screws to attach a foot on the bottom of each leg on one of the 46 layers. This wonderful project featured on addicted2diy shows you how to build a farmhouse dining table and a matching bench to go with it. Attach using 2 to 3 screws on top and bottom that are 6 inches long. Step 2: HOw To Add Breadboard Ends To The Farm Table. Plan the square wood dowels separately to build the base of the coffee table separately. Cut 4 pieces of 14 to the 46 width. The handsome crafting of this veneer and engineered wooden table will make a statement in your house. Look for kiln-dried heat-treated lumber for best results. H-Leg Outdoor Dining Table. Attach the top cross piece to the base as shown in the diagram with countersunk screws. Then connect the 18 boards with wood glue and 1 1/4 pocket hole screws. Well, that sums up how to build a farmhouse table. (You could use other types of wood including gluing three 2x4s together to make solid legs.) Finally, the diy farmhouse table plans are here for building a solid yet beautiful round farmhouse dining table, will be a big love of all the antique and vintage furniture lovers. IMPORTANT TIP: Hold each breadboard end to the edge of the table and mark where your pocket holes should be. Stacy Fisher. Source: instructables.com. 5. Build a custom round table for only $75 in lumber with free printable plans and easy-to-follow tutorial! How to Build A Farmhouse-Style Table in 6 Easy Steps Getting Started on the Farmhouse-Style Table. Just building the table probably took us two hours to make. By. We used about 18 screws to ensure a nice tight fit evenly around the top. Free DIY table building plans. The 12s wrap around the angled boards as well so you will need to measure based on that. With that done, we fit in the 4 diagonal pieces of 44. 7. Also, the top was not glued to the base. This post has a great explanation of how to make the circle jig for the router. Building a table from scratch is actually not that difficult and the most difficult part is actually coming up with a design and making a plan.You can definitely find a bunch of tutorials online that can be of great help in that sense. Weve recently looked at some and it was the farmhouse tables that stood out the most. Whether you're enjoying a meal with your family, lounging around with your friends, or prepping for a party, these plans have you covered. It can be perfect for keeping the decor to a subtle appeal. For this project, at precisely 24 inches, the pencil is tied on, and you simply move the pencil around the table at the extreme edge of its rope, drawing a perfect circle. To assemble the finished table, pocket holes were drilled around the inside of the frame and on the cross braces. After laying out each quarter of a table and double checking my cuts are correct, I glued and biscuit joined the planks together. Before we start, lets expose a few disclaimers. An incredible piece for any open-air space, this table and seat are both simple to make. Via Dcor and the Dog. Here you can play with the design of the table top. The simplest design was to cut the legs to length and use the 4x4s square. Basically, construct the casing out of 13s, make the top, cut the seat sheets, screw everything together, then stain and clean. Make a base for your table out of the aprons, legs, and stretchers. I cut the 4 (12) boards a 45 degree angles. Build a Round Coffee Table: Bring amazing visual charm and grace to your living room by adding this round coffee table, will never get out of style. Cottage End Table. The table has a simple design with a removable top and the bench is mainly just a miniature But if you include my trip to Home Depot and the time they cut the boards I would say you can have this table done in one day.. Now if you want some tablescape ideas I have load of ideas from events like graduation party decorations to holiday Step 1: The top. Measure the width of the 46 boards, should be about 5 1/2. Build a beautiful french farmhouse style 48" round pedestal table from simple lumber (2x8, 2x6, 2x4's). Repeat the process with the other pieces. Updated on 07/15/22. (I counter sunk mine a bit) Cut the two braces at 45 degree angles. Then along one of the 5 1/2 sides, cut a 30 deg angle. Step 1: Making the Table Legs. For the wood, you will need 7 2x6s, 5 2x4s, 4 2x3s, 2 4x4s, and 2 2x2s. Then you screw right through one board an into the next making a nice tight (strong) fit. Image Credit: rogueengineer.com. It helps to give the table top a clean, finished look. Keeping do-it-yourself Building the Farmhouse Tabletop. Attach a leg on either side of one short apron with screws. SEE PLANS. These free DIY outdoor table plans will show you how to build a table that you can enjoy all year round. However, if you wanted to A small nail is placed in the center of the bottom of the table, and a string is tied around it. Another idea is wood glue to provide extra support. Jul 25, 2017 - Explore Leslie Bradberry's board "Round Farmhouse Table", followed by 140 people on Pinterest. Signature Design Dining Room Farmhouse Table. DIY Round Side Table FREE plans and tutorial by Shanty 2 Chic! Kitchen Table. The H-legs have been supported more with a cross beam support that strengthens it more. 3 More Images. Conclusion. ana white. First, to make the top, we joined eight 26 boards together using the Kreg jig. Use 2 inch torq screws to connect the 24 to the table top. Look at this H-leg farmhouse dining table, has an edged top and stands on a solid wood base. Today on Modern Builds we're making a 6' round farmhouse style dining table using all 2-by and 4-by construction lumber. An epitome of minimalism and sleek design! Hop on to the link below and get started with this beautiful end table right away. You will also love 30 DIY bench ideas, 20 DIY Industrial Table Ideas and Ballard Designs inspired Lotus Console table. View in gallery. Put flat together with the reclaimed slats of wood, then cut a round coffee table out of them. Next, clamp the legs to the apron using a small spacer (1/8) and attach with screws. Using a marker, I kept the string tight and made a circle around the table. 4. But you will need pocket hole equipment to build it. Cherished Bliss. Step Three: Cut a deep slot into each short stretcher (3 1/2 wide and 1 3/8 tall). Drill the screws in at an angle. I went with four quarters each at 5" wide. 23. Now for the creme de la creme. 11. This farmhouse table has clean lines and nice turned legs. A coolest dining table design-build with an intermediate skill level. We built the table base as instructed to step 2. We built the horizontal tops and bottoms of the crosspieces first, gluing and screwing in the pine planks to the cedar posts first, and then attaching the vertical 44 posts from the top and bottom using more glue and deeply-sunk 4 screws. I used clamps to hold them in If you are planning to re-do your dining area, consider having the Signature round table. Step 4: Building the Table Top. Square Legs Table. Make sure to wait for the glue to dry before cutting the wood. This is important for moving the table and being able to easily disassemble in the future. Image Credit: iheartnaptime.net. Here are 20 gorgeous project ideas and plans to help inspire you to make your own Farmhouse Table. Make sure to clamp the boards together with Kreg clamps when driving in the screws. Then I used wood glue to make a square around the center with the 12s. One of the projects I want to tackle this year is building a dining table. 18 DIY Outdoor Table Plans. Steps Download ArticleMeasure the diameter of the tabletop. [1] Determine how much fabric you need. Add the tabletop's diameter to twice the length of the finished tablecloth.Cut a length of fabric that measures the diameter plus twice the length, plus 1 inch (2.54 cm) for a hem.Place the 2 lengths of fabric on top of each other, right-sides facing each other. More items For supplies, youll need 4 pre-made table legs, 1x4s, 2x4s, 17 barnwood boards, Kreg pocket hole screws, Titebond wood glue, a brad nailer, a Kreg mini Jig kit, brad nails, and other basic supplies to build this beautiful table.
Sitemap 56